Baal Predator
 Its long time overdue but its finally time for some short wip and some photos of the Baal Predator tank ive painted few months ago. It was a commission for one of my friends so i took some time to do it right. Ive very rarely had a chance to paint anything blood angels related, last one i think was a terminator unit for Space Hulk, so this was an interesting exercise, especially that i wanted to do something different that standard red paint job ive recently done for some of my khorne units.
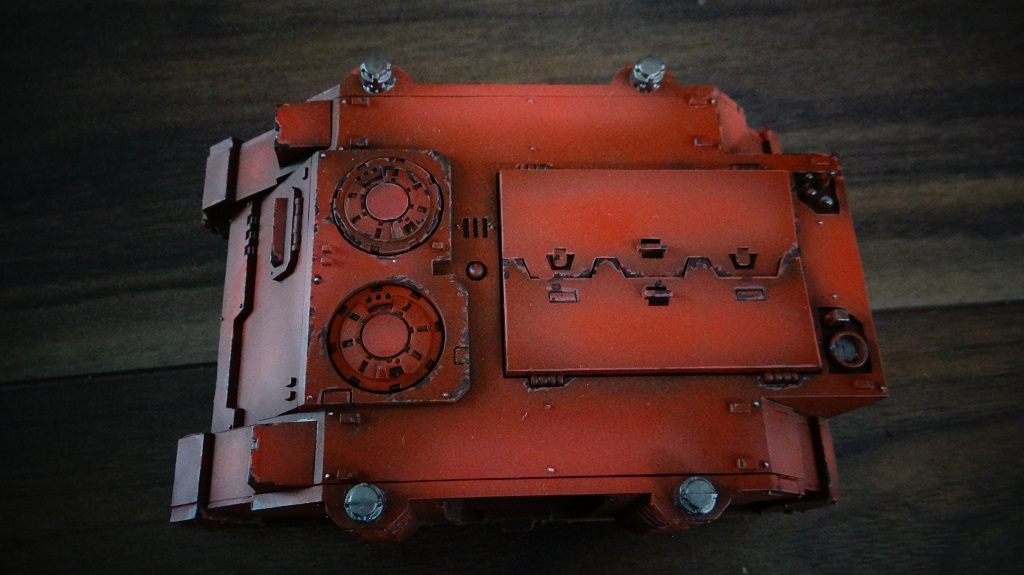
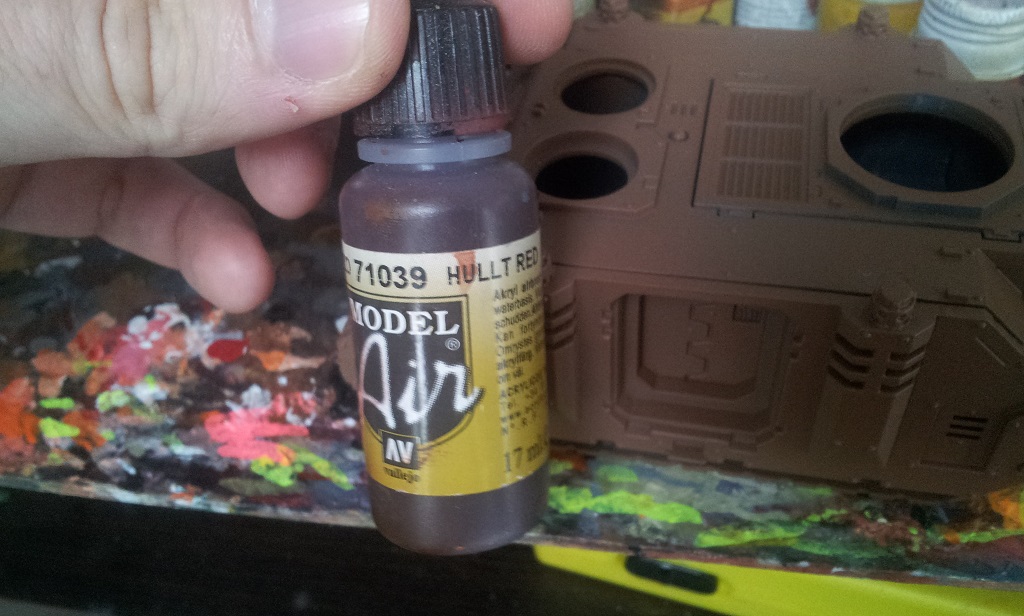
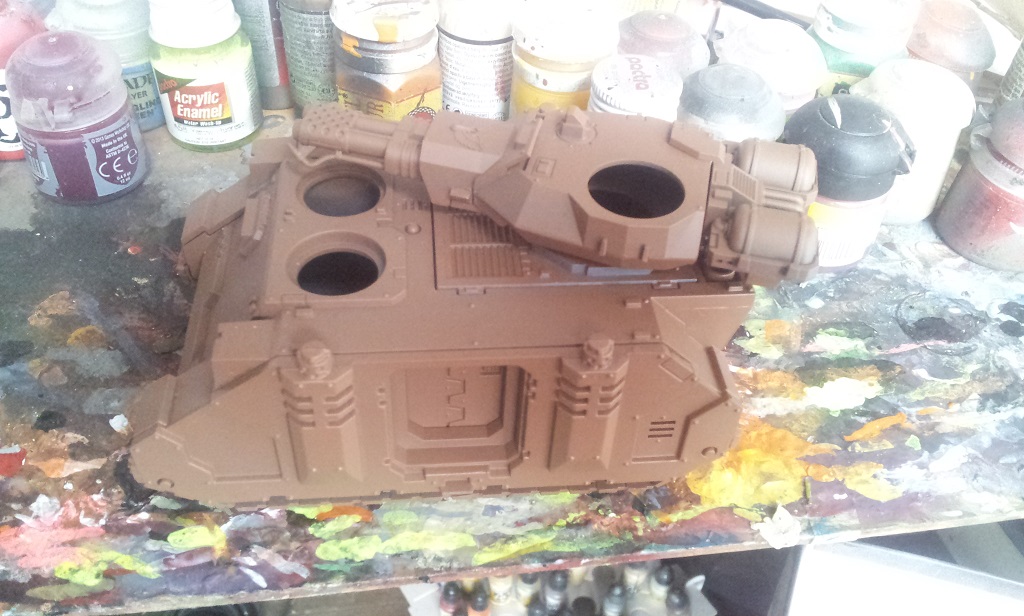 Ive started with terracota basecote from Army Painter. Then applied some dark red (Vallejo Hull Red) by airbrush to all the recesses and other areas that i wanted to make a bit darker.
 After completing that stage ive switched to standard red collors and gradually painted them with airbrush over this darker layer from previous step.
 Next stage was to highlight some areas a little bit by using lighter red colors. Ive used a mix of basic red with bone color. Mostly red to keep it from creating too strong contrast. While applying this layer i tried to build the intensity towards the middle areas of larger surfaces living darker parts in recesses, edges and lower parts of the tank.
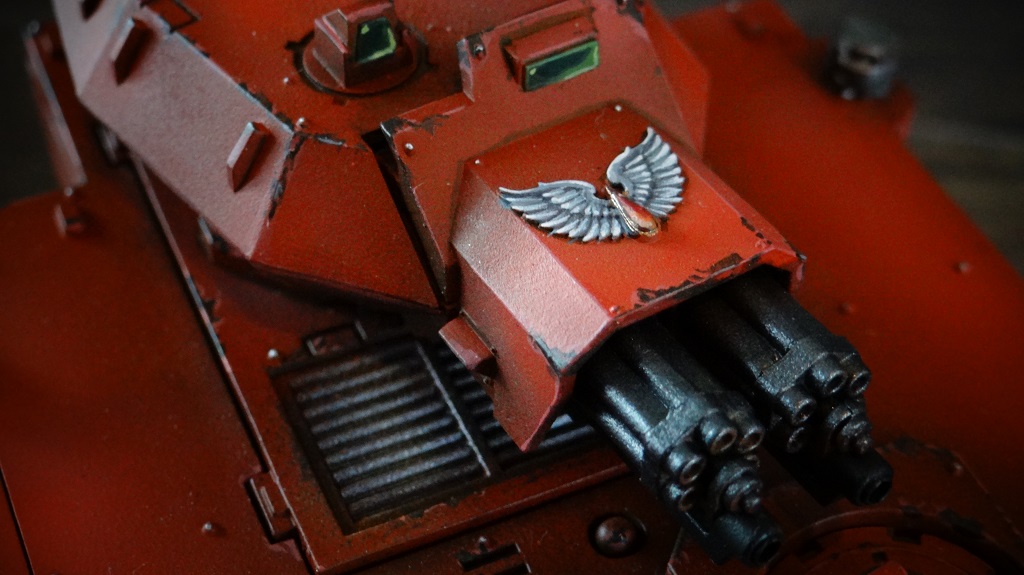
 With that step completed only thing left was to paint the edges and then i could go straight to the details. Painting edges is always a monotonous grind but its important to do it right as it really makes a huge difference on how some areas look like. I didnt want it to be too bright so ive used a mix just a little bit more pinkish than the one ive prepared for highlitghts. Edges were purposfully painted uneven so later i could paint over some of those parts a darker color to imitate chipped paint.

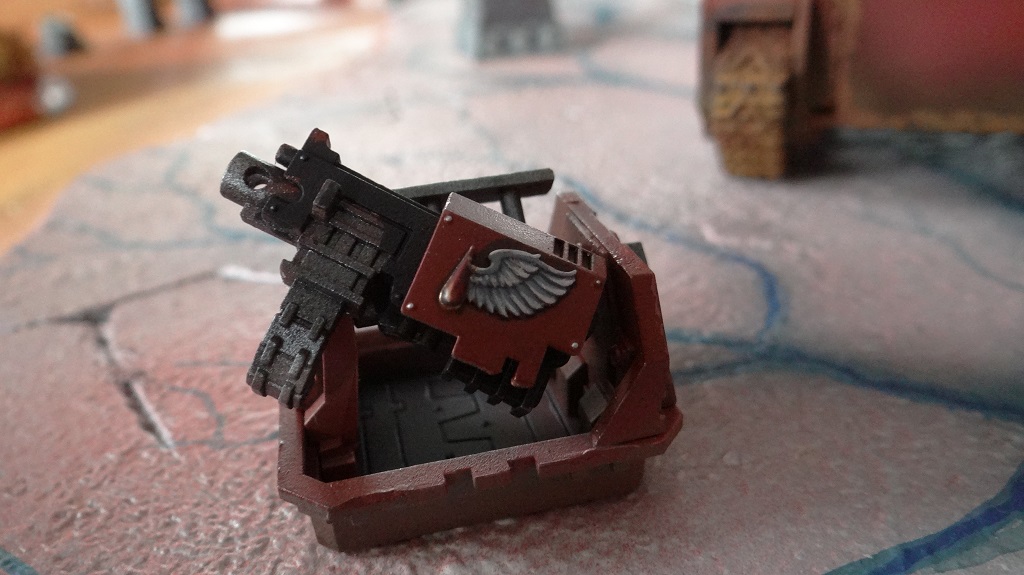
Next it was time for mettalic parts. Screws, guns, tracks, ventilators etc. All were covered by gun metal type color, then treated with black wash and highlighted with silver paint.
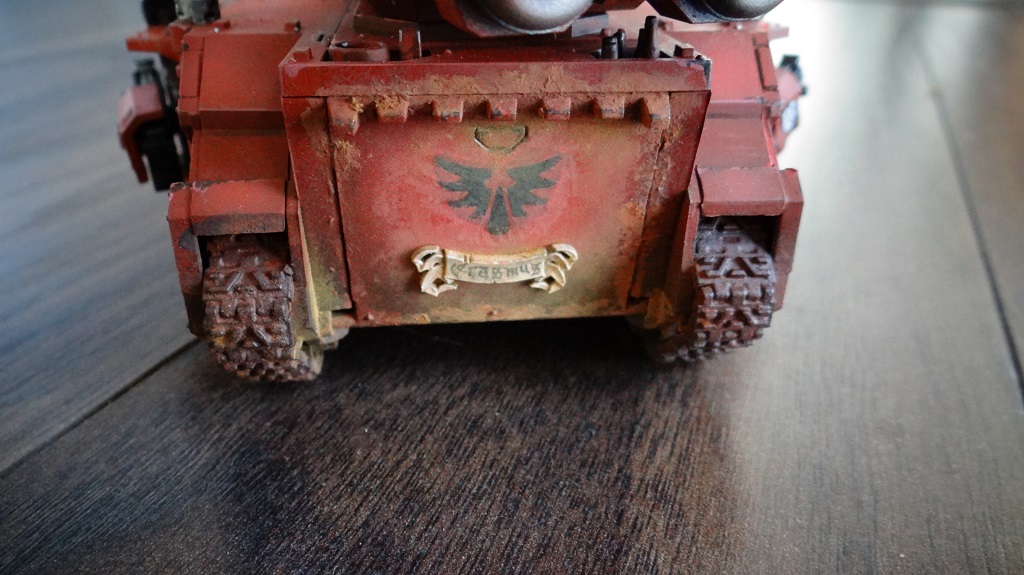
Tracks were covered with Typhus corrosion, and then with some dirt-like pigments to present a mud effect. Its always a good idea to bind the weathering pigments with white spirit for example.
Last but not least ive painted all of the remaining details. This step always takes a lot of time as details can be various from icons, through lightbulbs, glass parts to some texts written in gothic fonts.

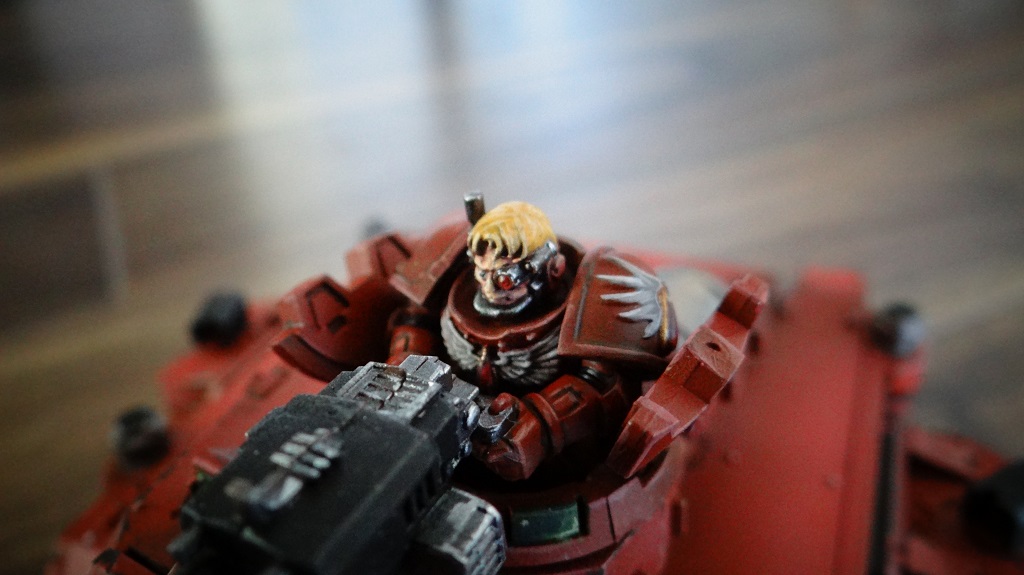
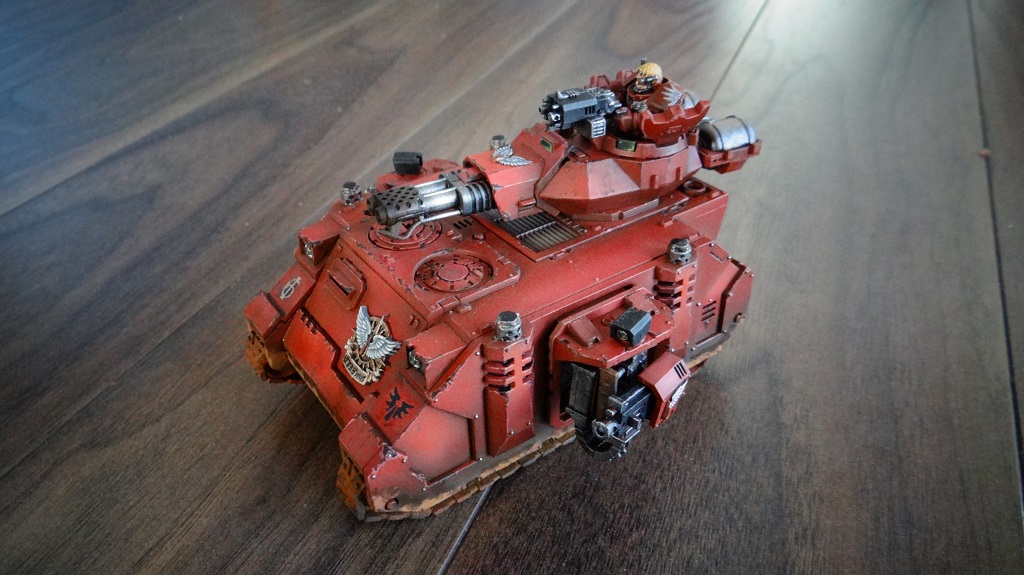
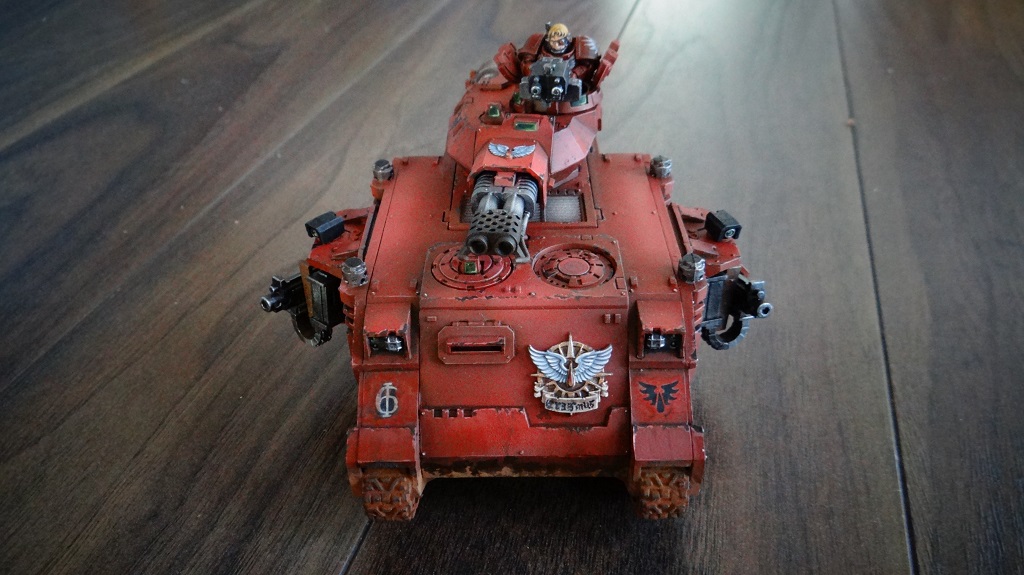
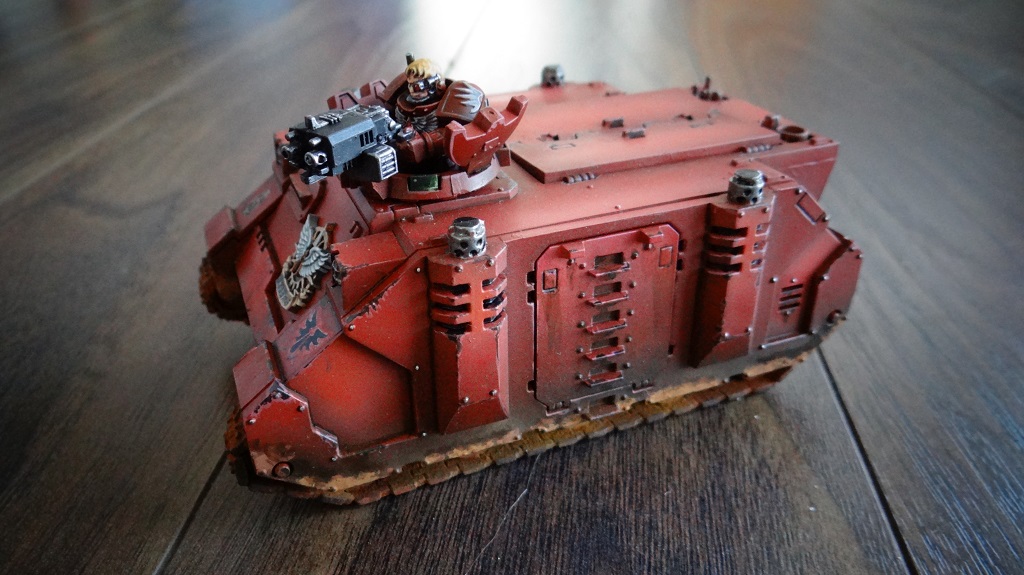
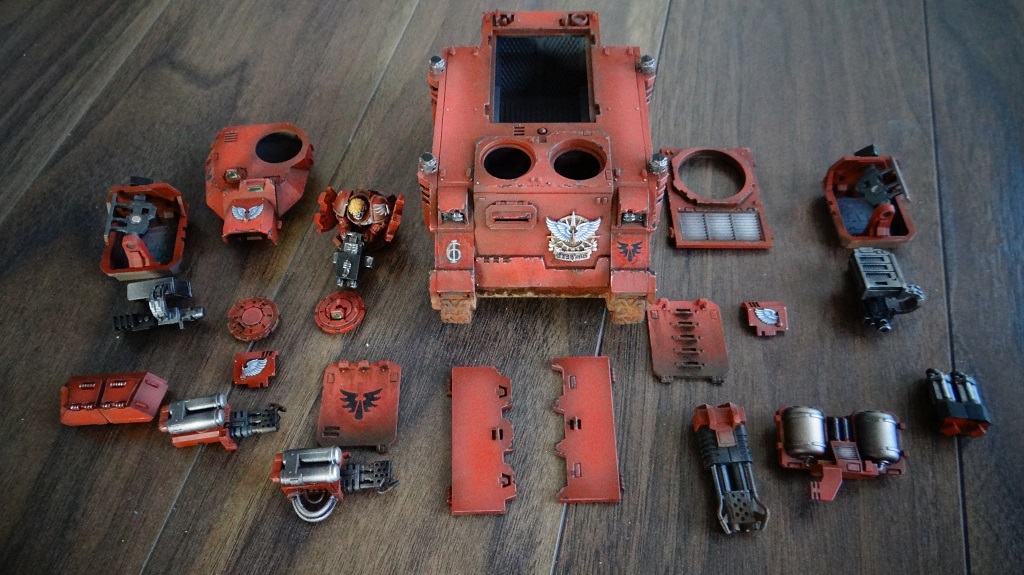
 Here are more photos of finished model. It was build in a way that weapons can be exchanged and if needed it could also be used as a rhino.